
Drip Acclimation
Let’s talk about one of the most popular ways to get your new shrimpies adjusted to your tank and ready to take the plunge into their new abode!
In my opinion, drip-acclimating shrimp to your tank’s water parameters is crucial to ensuring their success in your aquarium. Neocaridina are not nearly as sensitive as Caridina can be, however it is still good practice to avoid shocking your shrimp and providing any unnecessary stress. Drip-acclimating allows your new shrimpy friends to slowly adjust to your unique parameters and makes the transition as painless as possible for everyone involved!
To begin, you’ll need some type of container for your critters. This could be a cup, a large bowl or even a 5 gallon bucket. Next, you’ll need some airline tubing and/or a valve. I personally prefer to use a valve, but this is up to each person’s preference. I’ll include pictures of some examples of each of the items below.
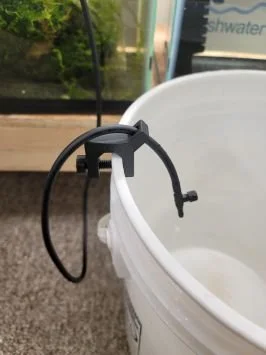
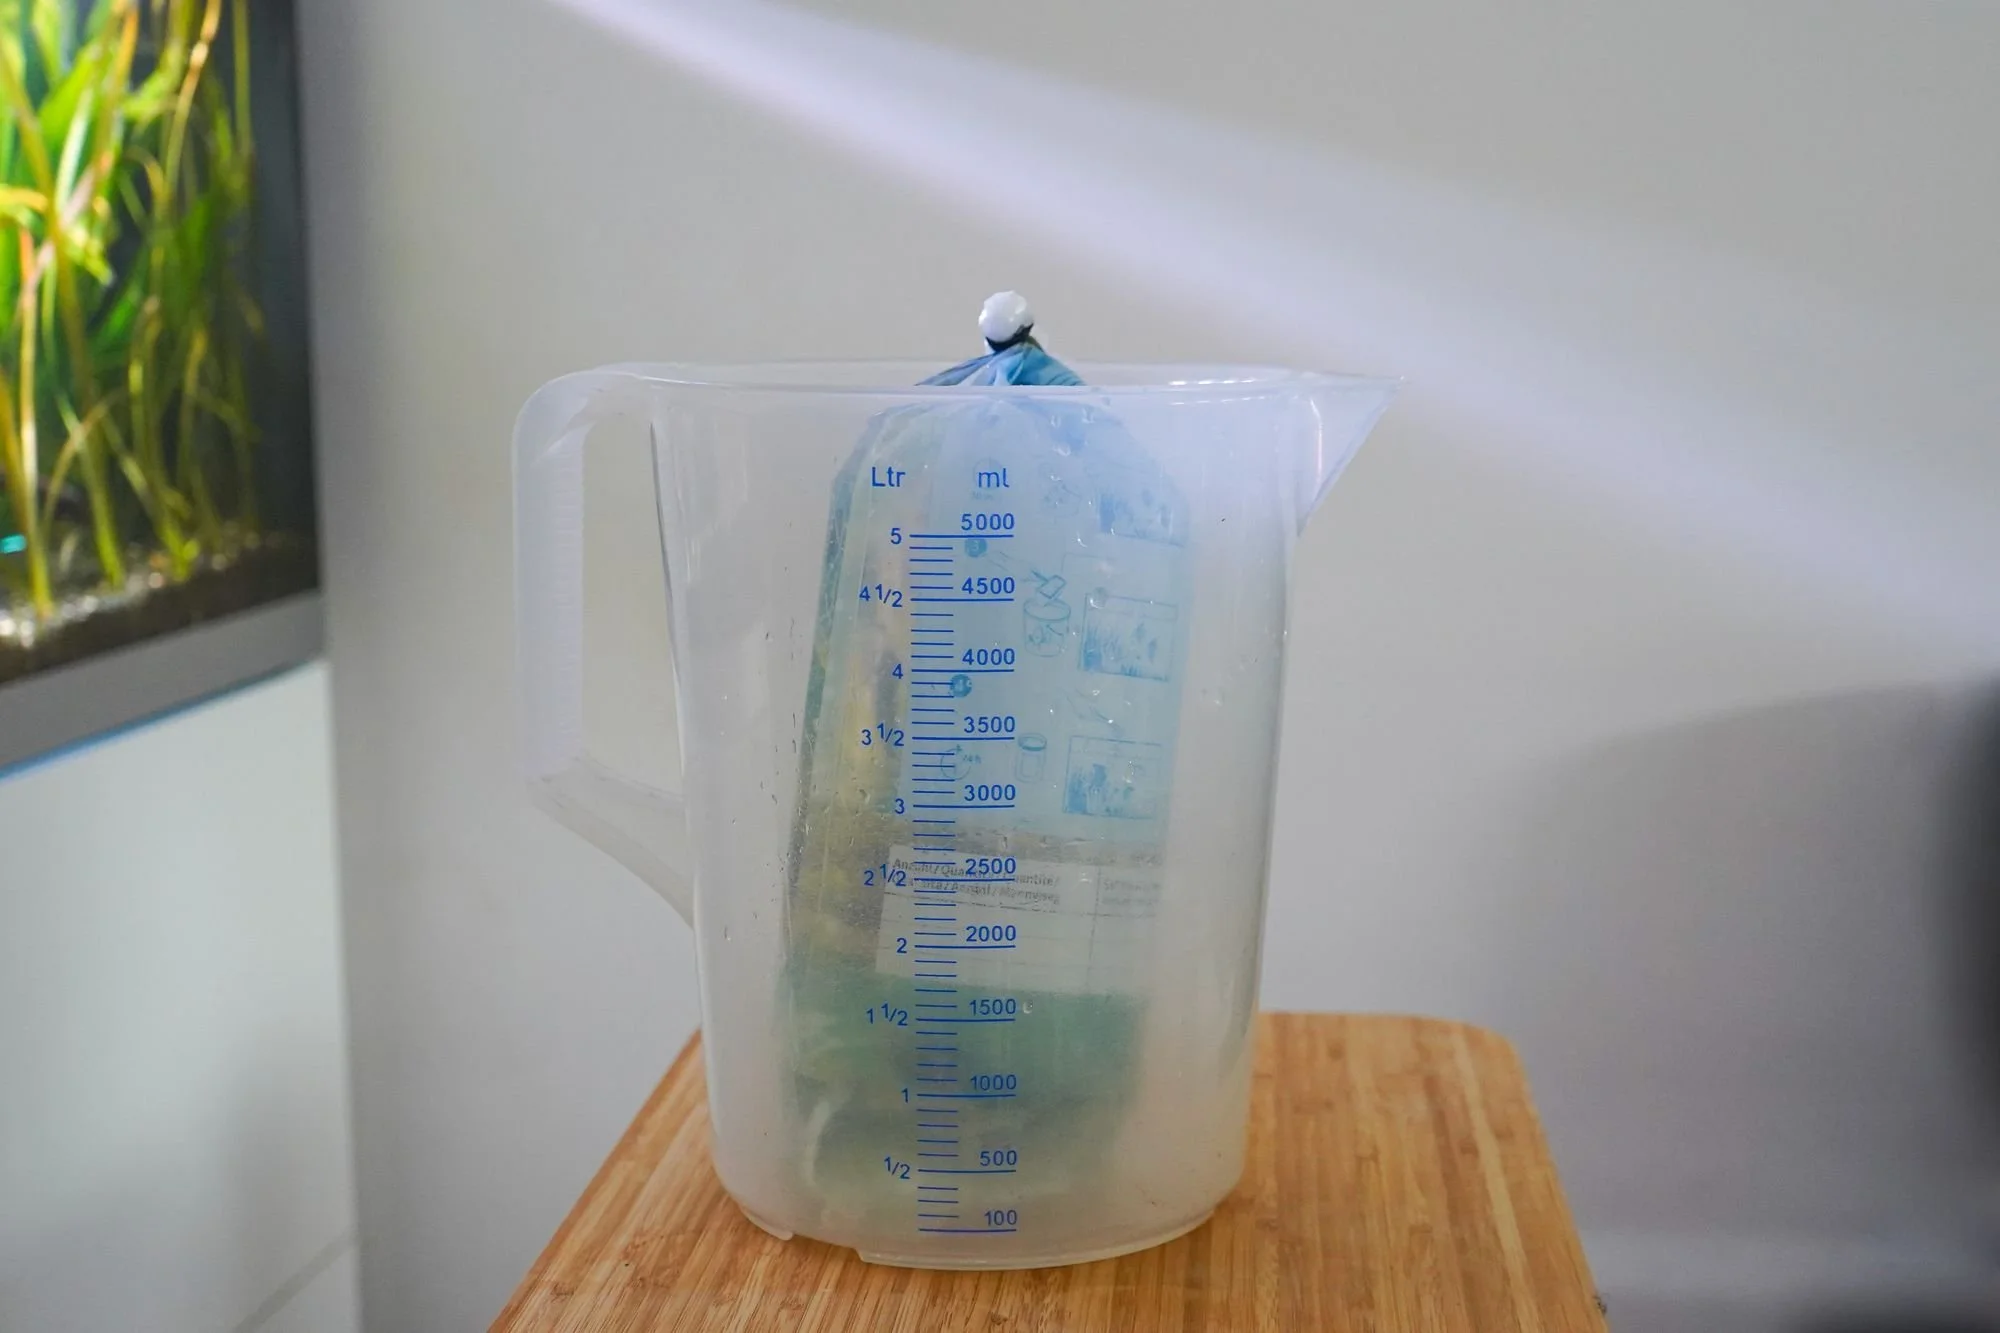
Now that you’ve got your supplies, let’s get your shrimps! Take a look at your bag of bugs shrimps and snap any photos if there are DOAs (dead shrimp) or if they look sickly. Promptly remove any dead shrimp as they will be a large source of ammonia. Next, open the bag and pour your shrimp & water into the container you’ll be using for the acclimation. Some people like to put a drop or two of a detoxifier like Seachem Prime into the water but this is entirely optional!
You’ll want to make sure that the container holding your shrimp is lower than your tank so that the siphon works! Take the end of your airline tubing that doesn’t have a valve on the end of it and pop that into the water. You can secure the tubing by clipping it to the side of the tank. If you’re using a valve, be sure to pop that on the other end and keep it closed for the time being. Once you’ve got your container situated beneath it, then you can open the flow and adjust until you get a rate of about 1-2 drops per second.
Alternatively, if you don’t have a valve, you can tie a loose knot with the tubing and adjust until the same rate of water drops is achieved. You may need to suck on the end of the tubing to establish the initial suction. Gross, I know! Especially if you’re like me and accidentally get a bunch of tank water in your mouth LOL
The hardest part about all of this is the waiting! I drip-acclimate for roughly 1-2 hours depending on the shrimp and how different the parameters are. I usually will check the water they came in with my TDS pen and compare to my tank to get a rough idea. The shortest time I have drip-acclimated is 45 minutes and the longest has been 8 hours for my more sensitive Caridina shrimps.
When you finally get to move your shrimpies to your tank, do your best not to get any of the water from the container into your tank. You don’t know what all was in that initial bit of water and you definitely don’t want to bring in any of that ammonia from the ride. I use a small net/shrimp net to transfer them. Take a moment once you’ve plopped them in and make sure they’re not twitching or spasming - this is a sign of osmotic shock and not good! Also, your shrimpy friends doing a little exploring of the tank is normal, however if they are swimming around frantically and almost look like they are trying to escape then this is also a bad sign and indicates they are stressed. You may want to fish them back out and try acclimating them for a longer period if this is happening.
Hopefully your shrimpies are just crawling around and munching on biofilm and enjoying their new digs! As always, if you have any questions at all, even about shrimpies you might not have bought from me, I’m happy to help in any way that I can! Send me an email at help@shrimps-is-bugs.com and I’ll get back to you ASAP!